Small closets don’t have to mean messy clothes and constant frustration. You can organize even the tiniest closet space effectively using simple DIY projects that cost very little money. The key is working with what you have and making smart choices about storage.
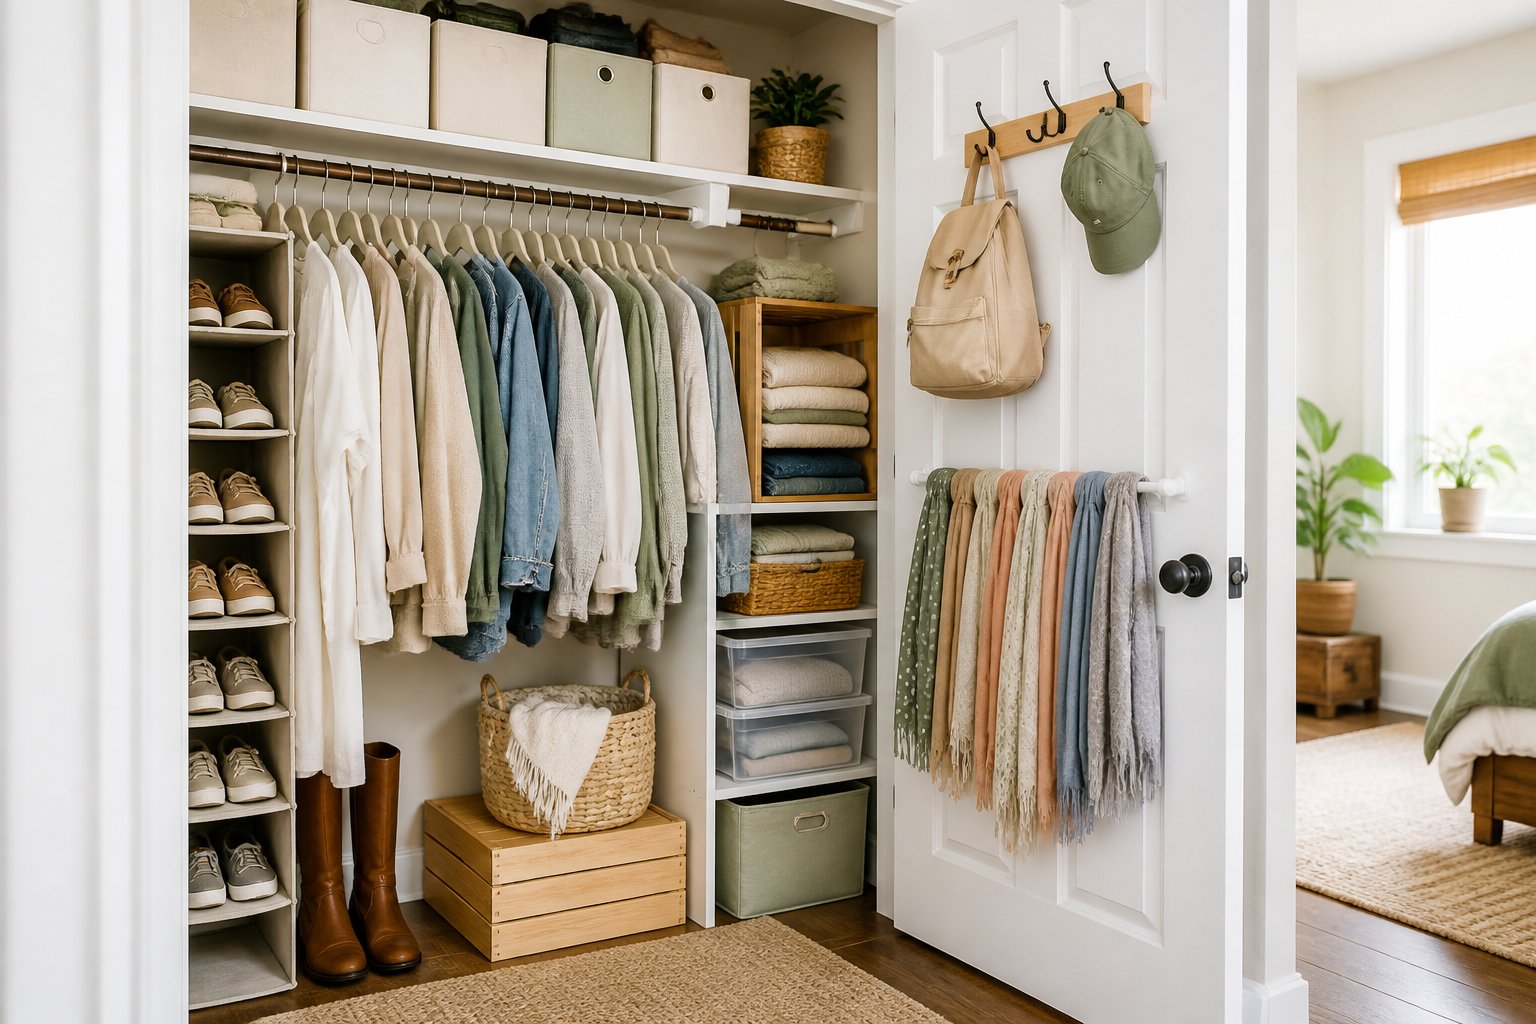
Most people think they need expensive custom systems or professional organizers to fix their closet problems. The truth is that basic materials like tension rods, baskets, and repurposed items from around your house can completely transform your storage space. You just need to know which solutions actually work.
These ten budget-friendly ideas will help you create more room in your small closet without spending a lot of money. Each project uses affordable materials and takes only a short time to complete. By the end, you’ll have a closet that keeps everything organized and easy to find.
Key Takeaways
- Small closets can be organized effectively using affordable DIY solutions instead of expensive custom systems
- Creating vertical storage zones and maximizing existing rod space helps you fit more items in tight areas
- Regular maintenance and strategic use of bins, baskets, and repurposed items keeps your closet functional long-term
1. Assess Space, Needs, And Budget
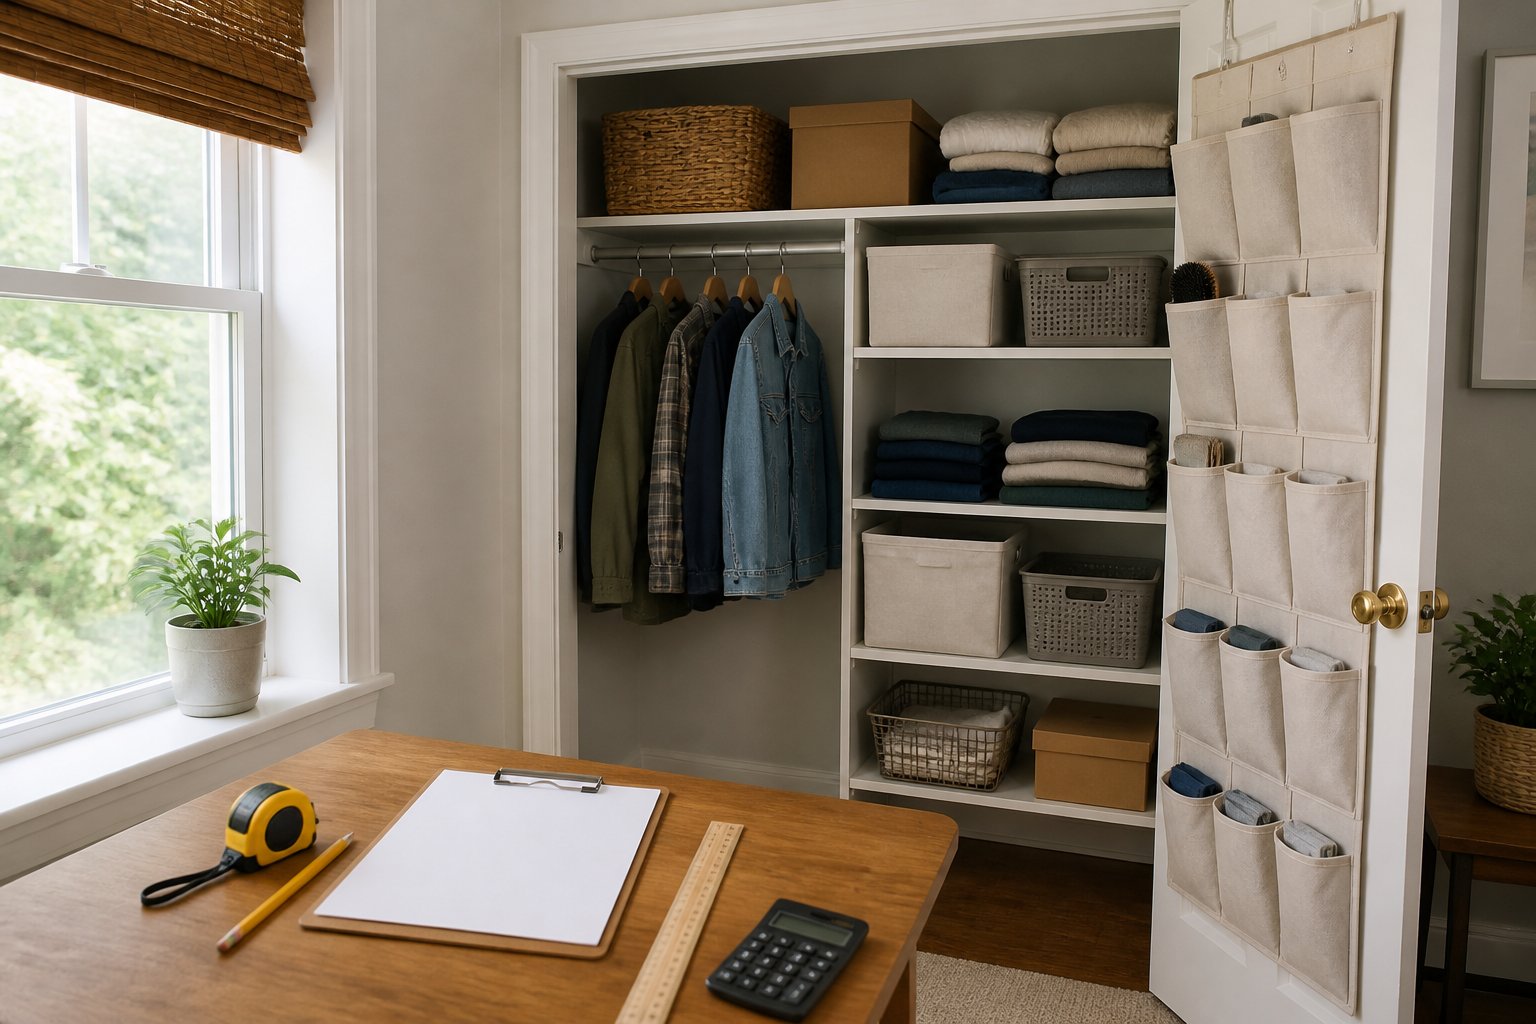
Before you buy any storage bins or build shelves, you need to know exactly what you’re working with and what you actually need to store. Taking measurements and sorting your belongings first will save you money and prevent buying the wrong solutions.
Measure Closet Dimensions
Get a tape measure and write down your closet’s width, depth, and height. Measure the distance between existing shelves and rods too. These numbers tell you what storage solutions will actually fit.
Pay attention to odd corners, slanted ceilings, or awkward spaces. These spots often get wasted, but simple DIY solutions like tension rods or custom-cut shelves can turn them into useful storage.
Check how much room you need to open the door fully. Some closets have doors that swing in, which limits where you can add hooks or over-the-door organizers. Sliding doors create different limitations.
Write your measurements on paper or in your phone. You’ll reference these numbers when shopping for materials or planning your DIY projects.
Sort Items By Frequency Of Use
Pull everything out of your closet and group similar items together. This shows you exactly how much space each category needs.
Put items you use daily at eye level and within easy reach. Clothes you wear weekly go on standard hanging rods or middle shelves. Store seasonal items and rarely-used things on high shelves or in bins on the floor.
Make three piles: keep, donate, and trash. Getting rid of items you don’t use frees up space without spending money. Less stuff means you might need fewer storage solutions.
Count how many shoes, bags, and folded items you have. These numbers help you decide if you need shoe racks, shelf dividers, or hanging organizers.
2. Create Vertical Storage Zones
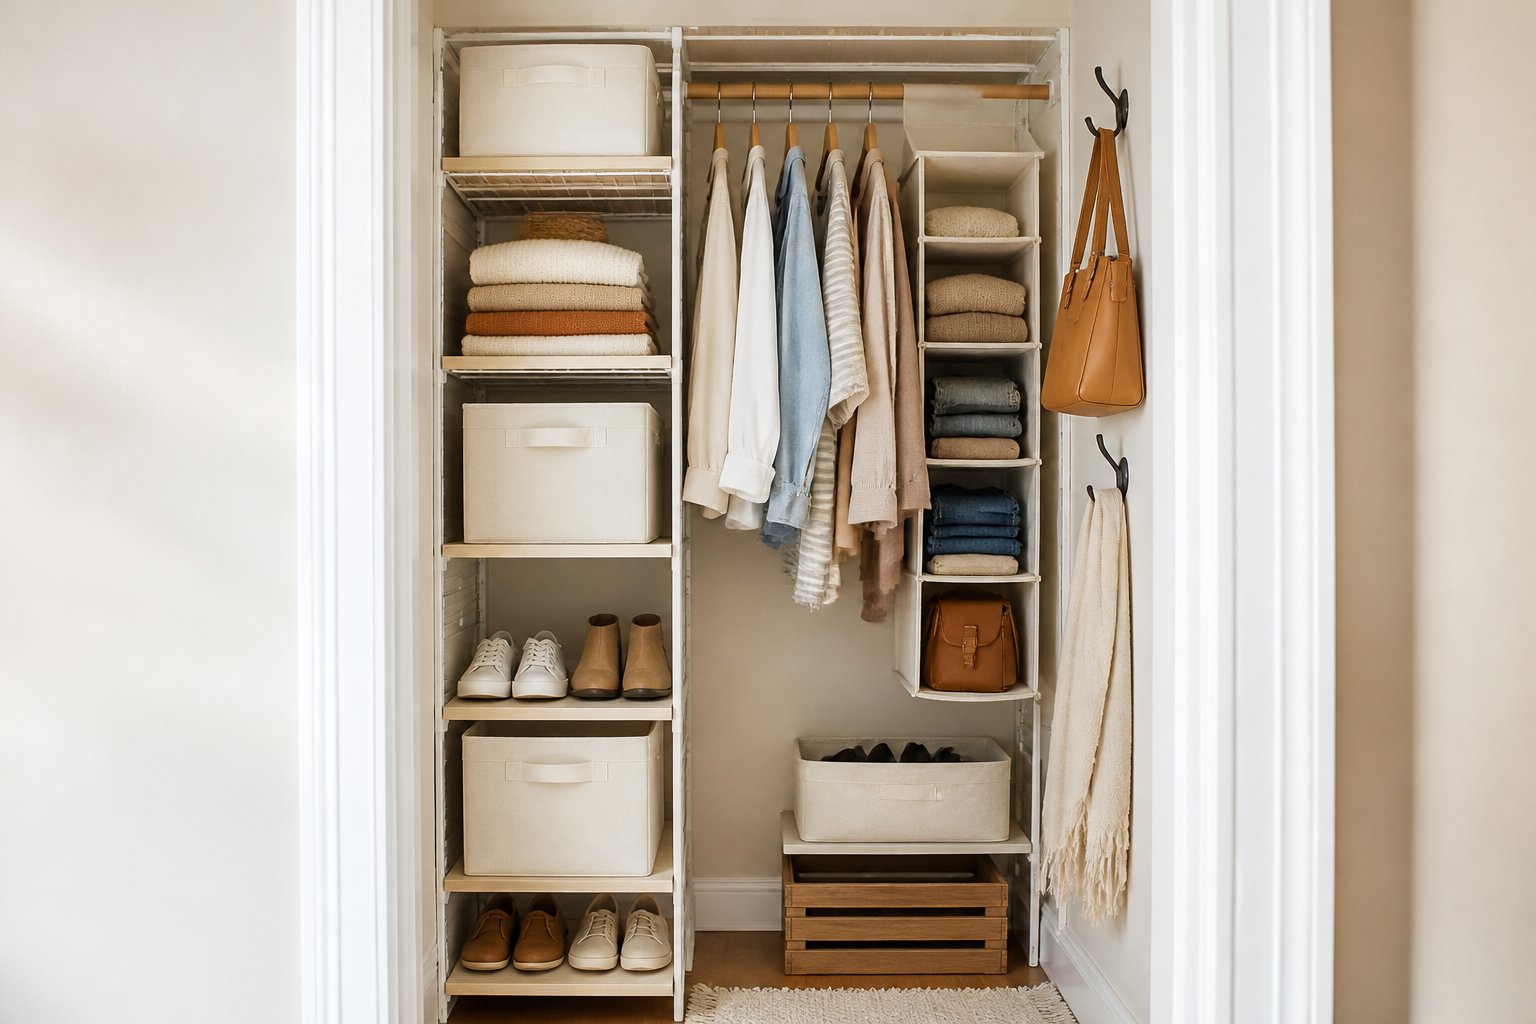
Dividing your closet into dedicated vertical zones keeps items organized and makes the most of every inch from floor to ceiling. Simple additions like shelf risers and wall hooks create distinct storage areas without expensive custom systems.
Install Adjustable Shelf Risers
Shelf risers instantly double your usable space by creating two storage levels where you previously had one. You can stack folded clothes, shoes, or bins on both the riser platform and the shelf underneath.
Look for metal or plastic risers that adjust from 10 to 16 inches wide to fit different shelf depths. The adjustable design means you can reconfigure them as your storage needs change. Place shorter items like folded t-shirts or small accessories on the lower level and taller stacks on top.
You can find basic shelf risers for $8 to $15 each at home stores or online retailers. Start with two or three risers on your most-used shelves to see the immediate impact. The simple addition creates distinct zones for different clothing categories without any tools or permanent changes to your closet.
Use Wall-Mounted Hooks
Wall-mounted hooks transform empty vertical wall space into functional storage for bags, belts, scarves, and jewelry. You can install a row of hooks at different heights to accommodate various item lengths and keep frequently used accessories visible and accessible.
Adhesive hooks work well for renters or anyone avoiding wall damage. They hold up to 3-5 pounds each and remove cleanly. Screw-in hooks support heavier items like coats and backpacks, holding 10-20 pounds when anchored properly into studs.
Install hooks 12 to 18 inches apart horizontally to prevent items from overlapping. Position them at eye level for daily accessories and higher for seasonal items you use less often. A pack of five hooks typically costs $5 to $12, making this one of the most budget-friendly storage upgrades available.
3. Add Affordable Hanging Organizers
Hanging organizers make use of vertical space without requiring any permanent changes to your closet. These solutions cost less than built-in systems and work well in tight spaces where floor and shelf space is limited.
Choose Fabric Shelf Units
Fabric shelf units hang from your closet rod and create instant storage compartments. You can find these organizers for $10 to $25 at most stores. They typically have 3 to 6 shelves that work well for folded clothes, bags, or shoes.
Look for units with reinforced sides that keep their shape when loaded. The best ones have cardboard inserts or wire frames built into the shelves. Avoid flimsy options that will sag under the weight of your items.
These organizers save you from adding standalone dressers or shelving units. You can also find specialty versions designed for specific items like sweaters, handbags, or accessories. Some models include side pockets for small items like scarves or belts.
Repurpose Over-The-Door Pockets
Over-the-door shoe organizers work for much more than footwear. The clear plastic pockets let you see what’s stored inside at a glance. You can buy these for $8 to $20 and hang them on your closet door or on a closet rod using shower curtain rings.
Use the pockets to store accessories, cleaning supplies, craft materials, or small clothing items. Each pocket keeps items separated and easy to grab. The narrow design takes up almost no space.
You can also use these organizers for items like hair tools, makeup, jewelry, or office supplies. The pockets protect delicate items from getting tangled or damaged. Mount multiple organizers if you need more storage without taking up any closet floor space.
4. Maximize Rod Space
Your closet rod holds more potential than you might think. Two simple changes can nearly double your hanging capacity without spending much money.
Add A Double Hanging Rod
Installing a second rod below your existing one creates two levels of hanging space. This works best for shorter items like shirts, blouses, and folded pants that don’t need the full height of your closet.
You can buy affordable double rod systems at hardware stores for $15-30. Mount the top rod about 80 inches from the floor and the bottom rod around 40 inches down. This leaves enough space to hang clothes on both levels without them touching.
What to hang on each level:
- Top rod: Dress shirts, button-ups, short dresses
- Bottom rod: Folded jeans, skirts, tank tops
If you rent and can’t drill holes, tension rods offer a damage-free option. They wedge between your closet walls and support lighter clothing items. Just make sure the tension rod can handle the weight you plan to put on it.
Use Cascading Hangers
Cascading hangers connect vertically using hooks or holes built into the hanger design. One hanger attaches to your closet rod while 4-5 others link below it.
This method saves serious rod space. Five cascading hangers take up the same horizontal space as one regular hanger. You’ll find basic cascading hangers for $1-2 each at discount stores.
They work well for items you wear together or similar clothing types. Group your work shirts on one chain and casual tees on another. The bottom hangers stay accessible since you can swing the whole chain to the side.
5. Build Simple Shelf Dividers
Shelf dividers keep stacks of clothes, bags, and linens from toppling over and creating chaos in your closet. You can make functional dividers from materials you already have at home or buy inexpensive options that work just as well as costly custom organizers.
Use Cardboard Or Wire Dividers
Cardboard dividers cost almost nothing to make and hold up surprisingly well on closet shelves. Cut sturdy cardboard boxes to the height of your shelf and slide them between stacks of sweaters or jeans to keep everything in place. You can cover the cardboard with contact paper or fabric if you want a cleaner look.
Wire shelf dividers are another budget-friendly option that you can find at dollar stores or online for a few dollars each. These slide onto your existing shelves and create permanent barriers between items. They work best on wire shelving but also clip onto wooden shelves with the right attachments.
Common materials for DIY dividers:
- Thick cardboard from shipping boxes
- Foam boards from craft stores
- Tension rods placed vertically
- Acrylic sheets cut to size
- Wood pieces from scrap lumber
Separate Folded Clothing By Category
Place dividers between different types of clothing to make getting dressed faster and easier. Keep t-shirts in one section, long-sleeve shirts in another, and pants in a third section. This system stops you from pulling out the wrong item and messing up your neat stacks.
Sort items by how often you wear them when setting up your dividers. Put everyday clothes in the most accessible spots and special occasion items toward the back or higher shelves. Label each section with small tags or markers so everyone in your household knows where things belong.
Use one divider for every 6-8 inches of folded clothes to prevent leaning and falling. Adjust the spacing based on how thick your clothing items are and how tightly you fold them.
6. Use Bins And Baskets Strategically
Bins and baskets turn wasted shelf space into organized storage zones while keeping your items accessible and your closet looking neat. The right containers make it easy to group similar items together and maximize every inch of available space.
Label Containers Clearly
Labels keep you from digging through every bin to find what you need. Use a label maker, masking tape and a marker, or even sticky notes to mark each container with its contents.
Write specific labels like “winter scarves” or “gym socks” instead of vague ones like “accessories.” This saves you time when you’re getting dressed and helps you remember where things belong when putting laundry away.
Place labels on the front of bins at eye level where you can see them easily. For containers stored on high shelves, add labels to the bottom edge or front lip so you can read them from below.
Clear bins let you see what’s inside without opening them. If you use solid-colored baskets or boxes, labels become even more important for quick identification.
Store Seasonal Items Up High
Your closet’s top shelf is prime real estate for things you don’t need to access often. Put winter coats, holiday sweaters, and bulky items in bins and slide them onto the highest shelves during off-seasons.
This keeps your everyday storage at arm’s reach while still using all available vertical space. Lightweight plastic bins work best for upper storage since you’ll need to lift them down occasionally.
Stack bins two high if your closet ceiling allows it. Just make sure the bottom bin can support the weight and you can safely reach both containers when needed.
Group seasonal items by type or month to make swapping easier. When the seasons change, simply pull down one bin and replace it with another from lower storage.
7. Upgrade Door Storage
Closet doors offer valuable vertical space that most people ignore. A few simple additions can turn your door into a storage powerhouse without spending much money.
Mount A Slim Shoe Rack
An over-the-door shoe rack is one of the cheapest ways to add storage to your small closet. These racks hang on the back of your door and hold multiple pairs of shoes in clear pockets or slots.
You can find basic models for $10 to $25 at most stores. Look for racks with at least 12 pockets to maximize your space. The clear pocket style works best because you can see all your shoes at once.
Installation takes about five minutes. Most racks simply hook over the top of your door with no tools needed. Make sure your door can close fully with the rack in place before you load it with shoes.
You don’t have to limit yourself to shoes. Use the pockets to store scarves, cleaning supplies, small purses, or rolled-up belts. Just keep heavier items in the lower pockets so the rack doesn’t tip.
Add Command Hooks For Accessories
Command hooks stick to your door and hold bags, jewelry, or hats without damaging the surface. A pack of hooks costs between $5 and $15 depending on the size and quantity.
Place hooks at different heights to hang multiple items without crowding. Put larger hooks near eye level for purses and tote bags. Add smaller hooks lower down for necklaces or baseball caps.
Clean your door with rubbing alcohol before applying the hooks. Press firmly for 30 seconds to make sure they stick properly. Each hook can typically hold 3 to 5 pounds, but check the package for exact weight limits.
Space your hooks at least 6 inches apart. This prevents bags and accessories from bumping into each other when you open the door.
8. Organize Shoes Without Custom Shelving
Shoes can take up a lot of closet space, but you don’t need expensive built-in shelves to keep them organized. Clear boxes and cardboard create effective storage systems that cost very little.
Stack Clear Shoe Boxes
Clear plastic shoe boxes let you see exactly what’s inside without opening each container. You can find these boxes at dollar stores for around $1-3 each, making them one of the cheapest storage options available.
Stack the boxes vertically in your closet to make use of height instead of floor space. This works well in narrow closets where traditional shoe racks won’t fit. Label each box with a photo or written description if the plastic isn’t fully transparent.
The boxes protect your shoes from dust and damage while keeping pairs together. You can also use document boxes as an alternative, which often cost even less. Match the box sizes to your closet shelf dimensions for a clean, organized look that maximizes every inch of vertical space.
Make A Cardboard Shoe Cubby
Cardboard boxes from shipping packages or stores can become free shoe storage cubbies. Cut sturdy boxes to the same height and width, then stack them on their sides to create individual compartments for each pair of shoes.
You can arrange these cubbies in different patterns to fit your closet shape. Some people line them up in rows, while others stack them in a pyramid. Use strong packing tape to secure boxes together so they don’t shift or collapse.
Paint or cover the cardboard with contact paper if you want a more finished appearance. This DIY solution costs nothing if you use boxes you already have. Each cubby keeps shoes separated and easy to grab, and you can add or remove sections as your shoe collection changes.
9. Repurpose Household Items
You don’t need to buy expensive organizers when common items around your home can solve storage problems just as well. Wooden crates become sturdy shelves, and tension rods create instant hanging space for accessories.
Turn Crates Into Modular Shelves
Wooden crates from craft stores or old fruit boxes make excellent stackable storage units. You can stand them upright or on their sides to create cubbies for shoes, folded clothes, or bags.
Stack multiple crates to build a customized shelving system that fits your exact closet dimensions. Secure them together with zip ties or small L-brackets for stability. Paint or stain the crates to match your closet’s look, or leave them natural for a rustic feel.
The open design lets you see what’s inside each section without pulling everything out. You can rearrange the configuration whenever your storage needs change. Use fabric bins or baskets inside the crates to organize smaller items like socks, scarves, or accessories.
Use Tension Rods For Small Accessories
Install tension rods vertically between shelves to create dividers for sweaters, purses, or folded jeans. Mount them horizontally near the top of your closet to hang scarves, belts, or tank tops with straps.
A tension rod placed low in your closet works perfectly for children’s clothing or shorter items like skirts. You can also position one across a corner to maximize dead space that usually goes unused.
These rods require no drilling or permanent installation, making them ideal for rental spaces. They adjust to fit different widths and hold a surprising amount of weight. Add S-hooks to a horizontal tension rod to hang bags, hats, or jewelry organizers.
10. Maintain A Functional Closet System
Setting up storage solutions is only half the battle. You need consistent habits to keep your small closet from returning to its cluttered state.
Follow A One-In, One-Out Rule
This rule is simple but effective for small closets with limited space. Every time you bring a new clothing item or accessory into your closet, remove one item you no longer wear or need.
The one-in, one-out approach prevents your storage from getting overwhelmed. It forces you to make deliberate choices about what deserves space in your closet. You become more thoughtful about purchases when you know something has to leave.
Start by setting a specific limit for each category. For example, keep only 10 t-shirts, 5 pairs of jeans, or 8 pairs of shoes at one time. Write these numbers down and stick them inside your closet door as a reminder.
Donate, sell, or recycle the items you remove. Don’t let them pile up in other areas of your home.
Reassess Storage Every Season
Your closet needs change throughout the year. Review your storage setup at the start of each season to make sure it still works for your current wardrobe.
Move off-season items to higher shelves, under-bed storage, or other areas outside your closet. This frees up prime hanging and shelf space for clothes you actually wear. Pack winter coats away in spring and store summer dresses during fall.
Check if your DIY organizers still serve their purpose. A shoe rack that worked in winter might need adjustment for sandal storage in summer. Shelf dividers may need repositioning as your folded items change.
Take 15 minutes each season to wipe down shelves and vacuum the closet floor. This quick maintenance keeps dust from building up on your storage solutions.